Here you will find the build instructions for all modules of the WeatherLox weather station. Each guide describes the available measurements, the sensor used, the parts list, the 3D printed parts and PCBs as well as the assembly step by step with photos.
The station has a modular design. You always need the Control Module. Which sensor modules you add is up to you, and you can also add them step by step. It is best to start with the control unit, because all sensors are connected to it later.
You can find the 3D print files and PCB layouts on GitHub. If you don’t want to order the parts individually, you can request a kit.
Basic equipment
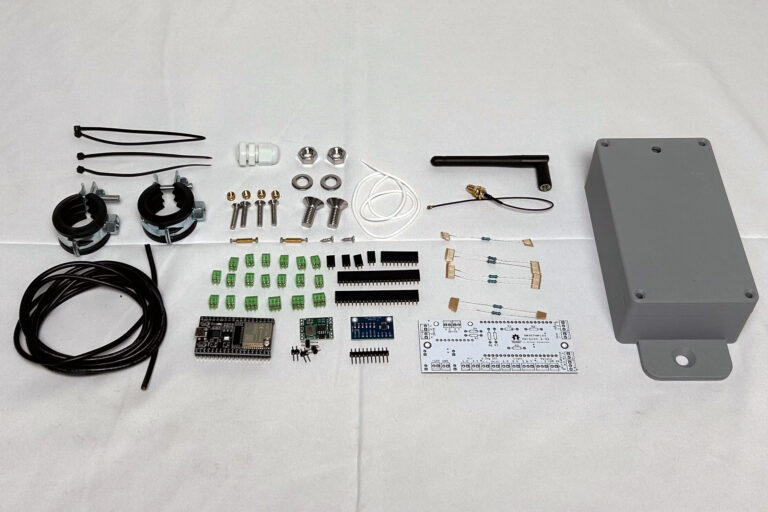
Control Module
The heart of every station: an ESP32 with customised ESP-Easy firmware that passes on the measurements via WiFi. Required for every station.
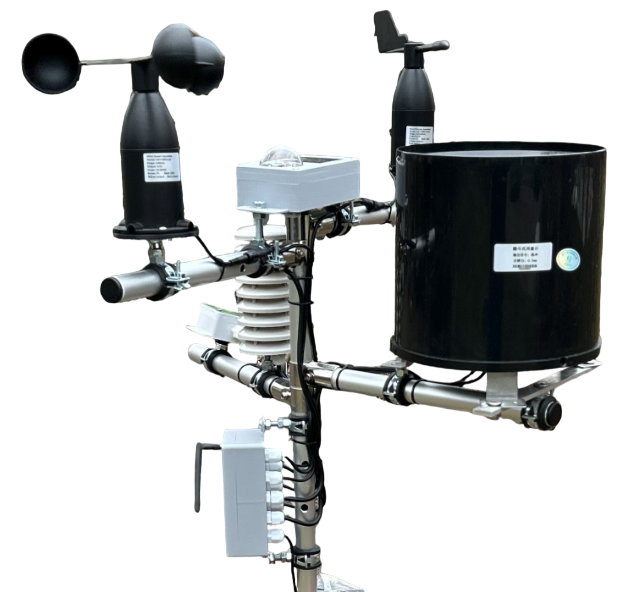
Mounting System
Aluminium tubes (Ø 25 mm) with tube connectors and lamella plugs. The control unit and sensor modules are attached to them with pipe clamps.
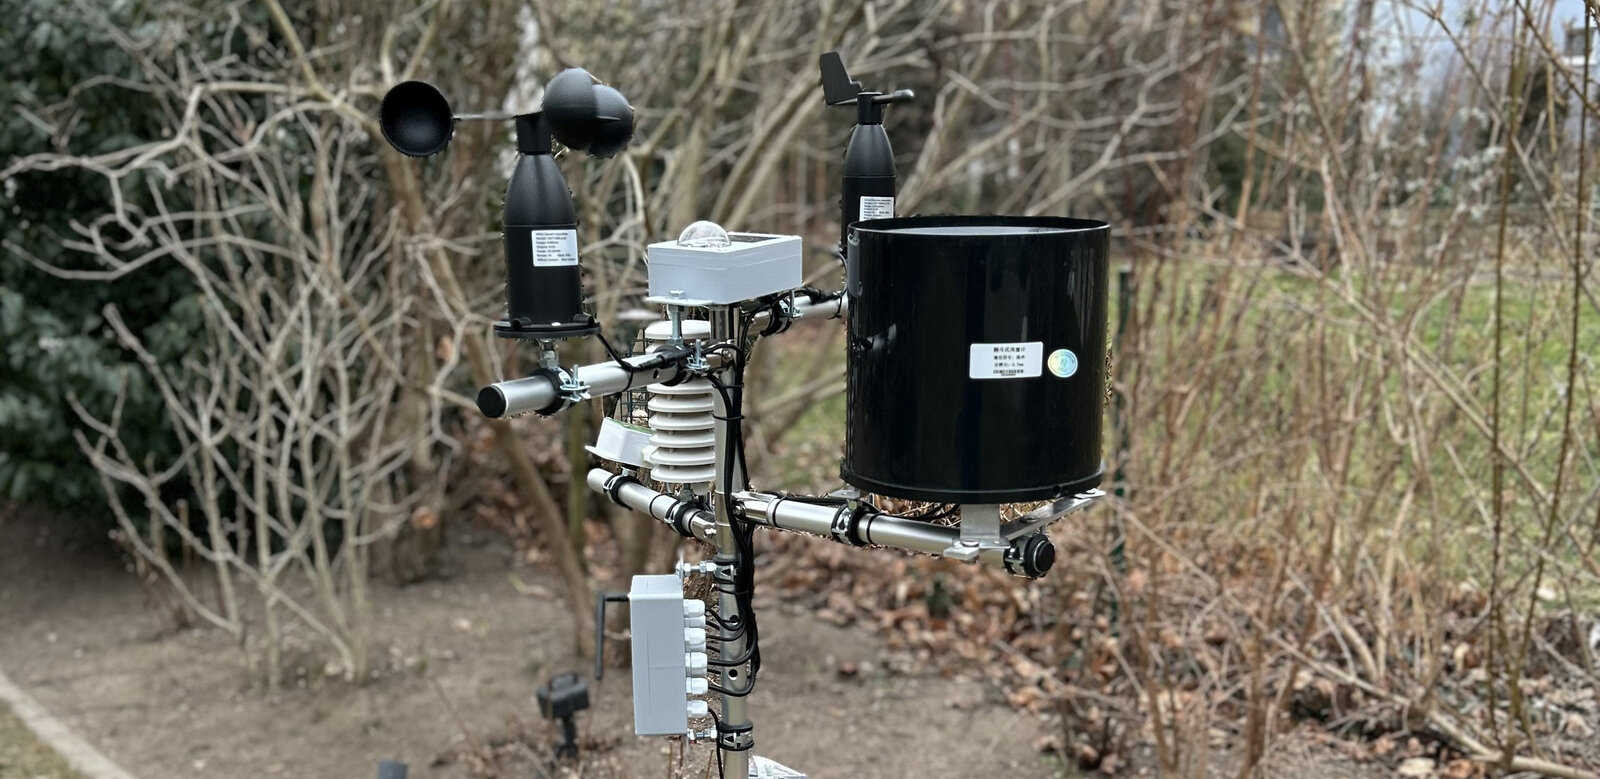
Sensor modules

Air Sensor Module
Measures air temperature, relative humidity and air pressure. A radiation shield protects the sensor from direct sunlight.
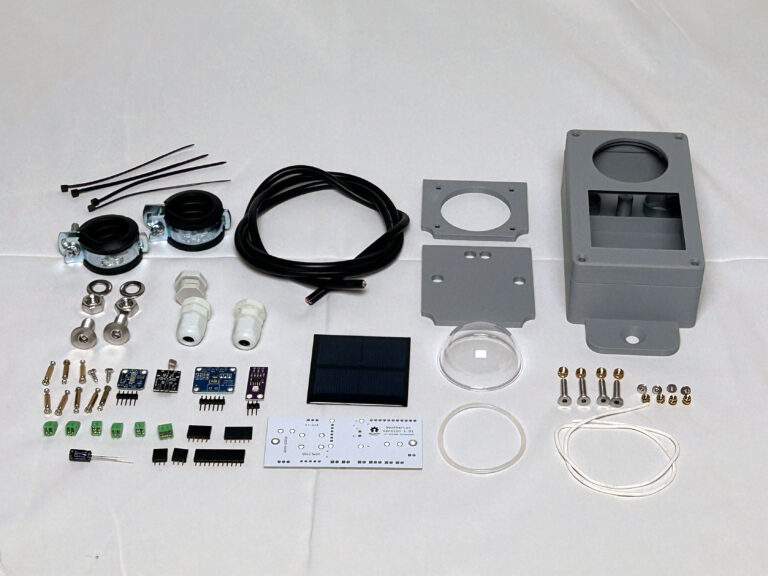
Solar Sensor Module
Records solar radiation in W/m², brightness, twilight and UV radiation. Well suited for shading control.

Lightning Sensor Module
Detects lightning strikes up to about 40 km away and estimates how far away the thunderstorm front still is.

Windspeed Sensor Module
Cup anemometer for wind speed, for example to retract an awning or external blinds in good time.
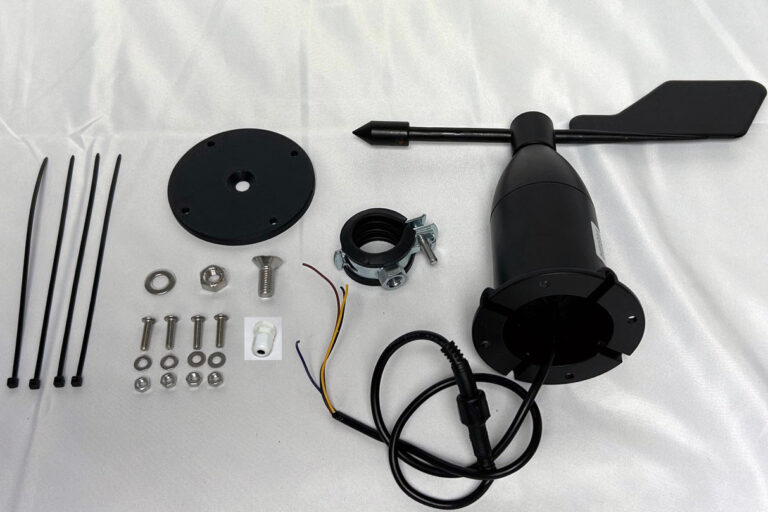
Winddirection Sensor Module
Wind vane for the wind direction from 0 to 360°, converted to the 8-point compass rose.

Rain Sensor Module
Detects the onset of rain or snow very early. Ideal for protecting awnings and roof windows. Does not measure the rain amount.
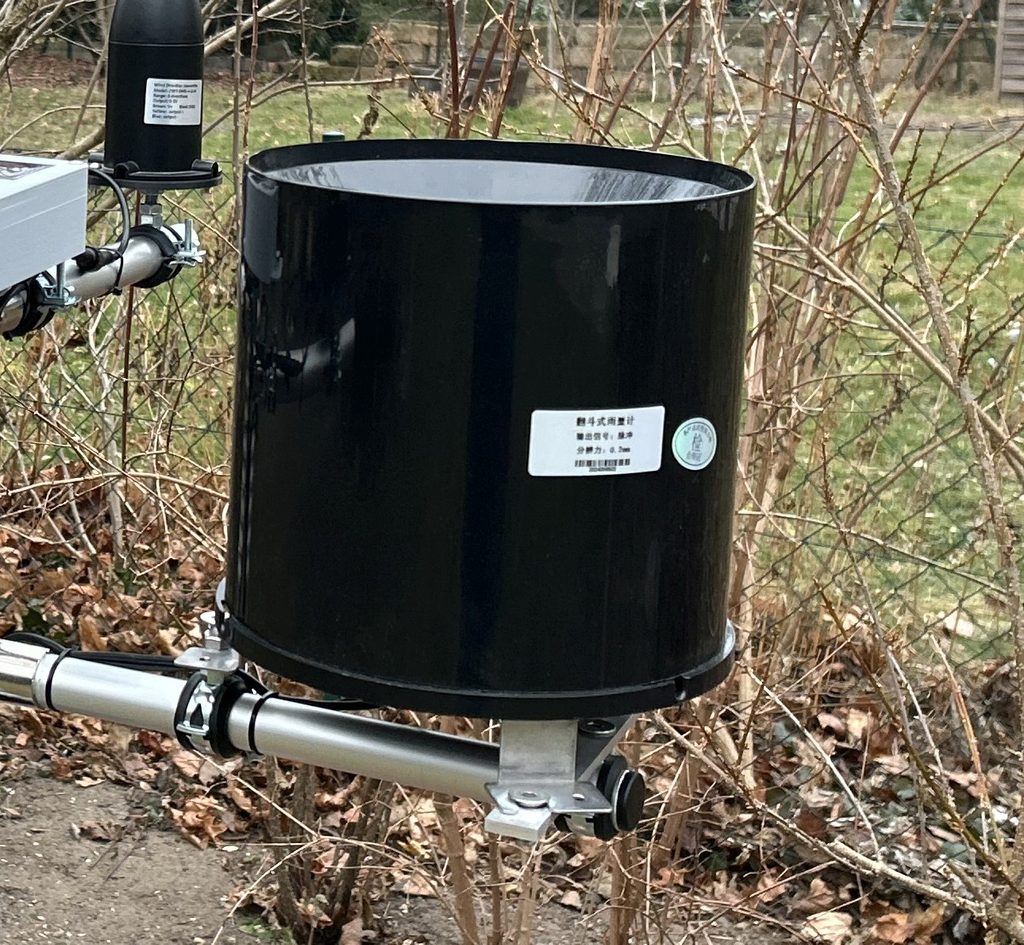
Rain Amount Sensor Module
Tipping bucket rain gauge: every tip of the bucket is counted via a magnet and reed contact, and the amount of precipitation is calculated from it.